Unreal Engine: Animation and Montages
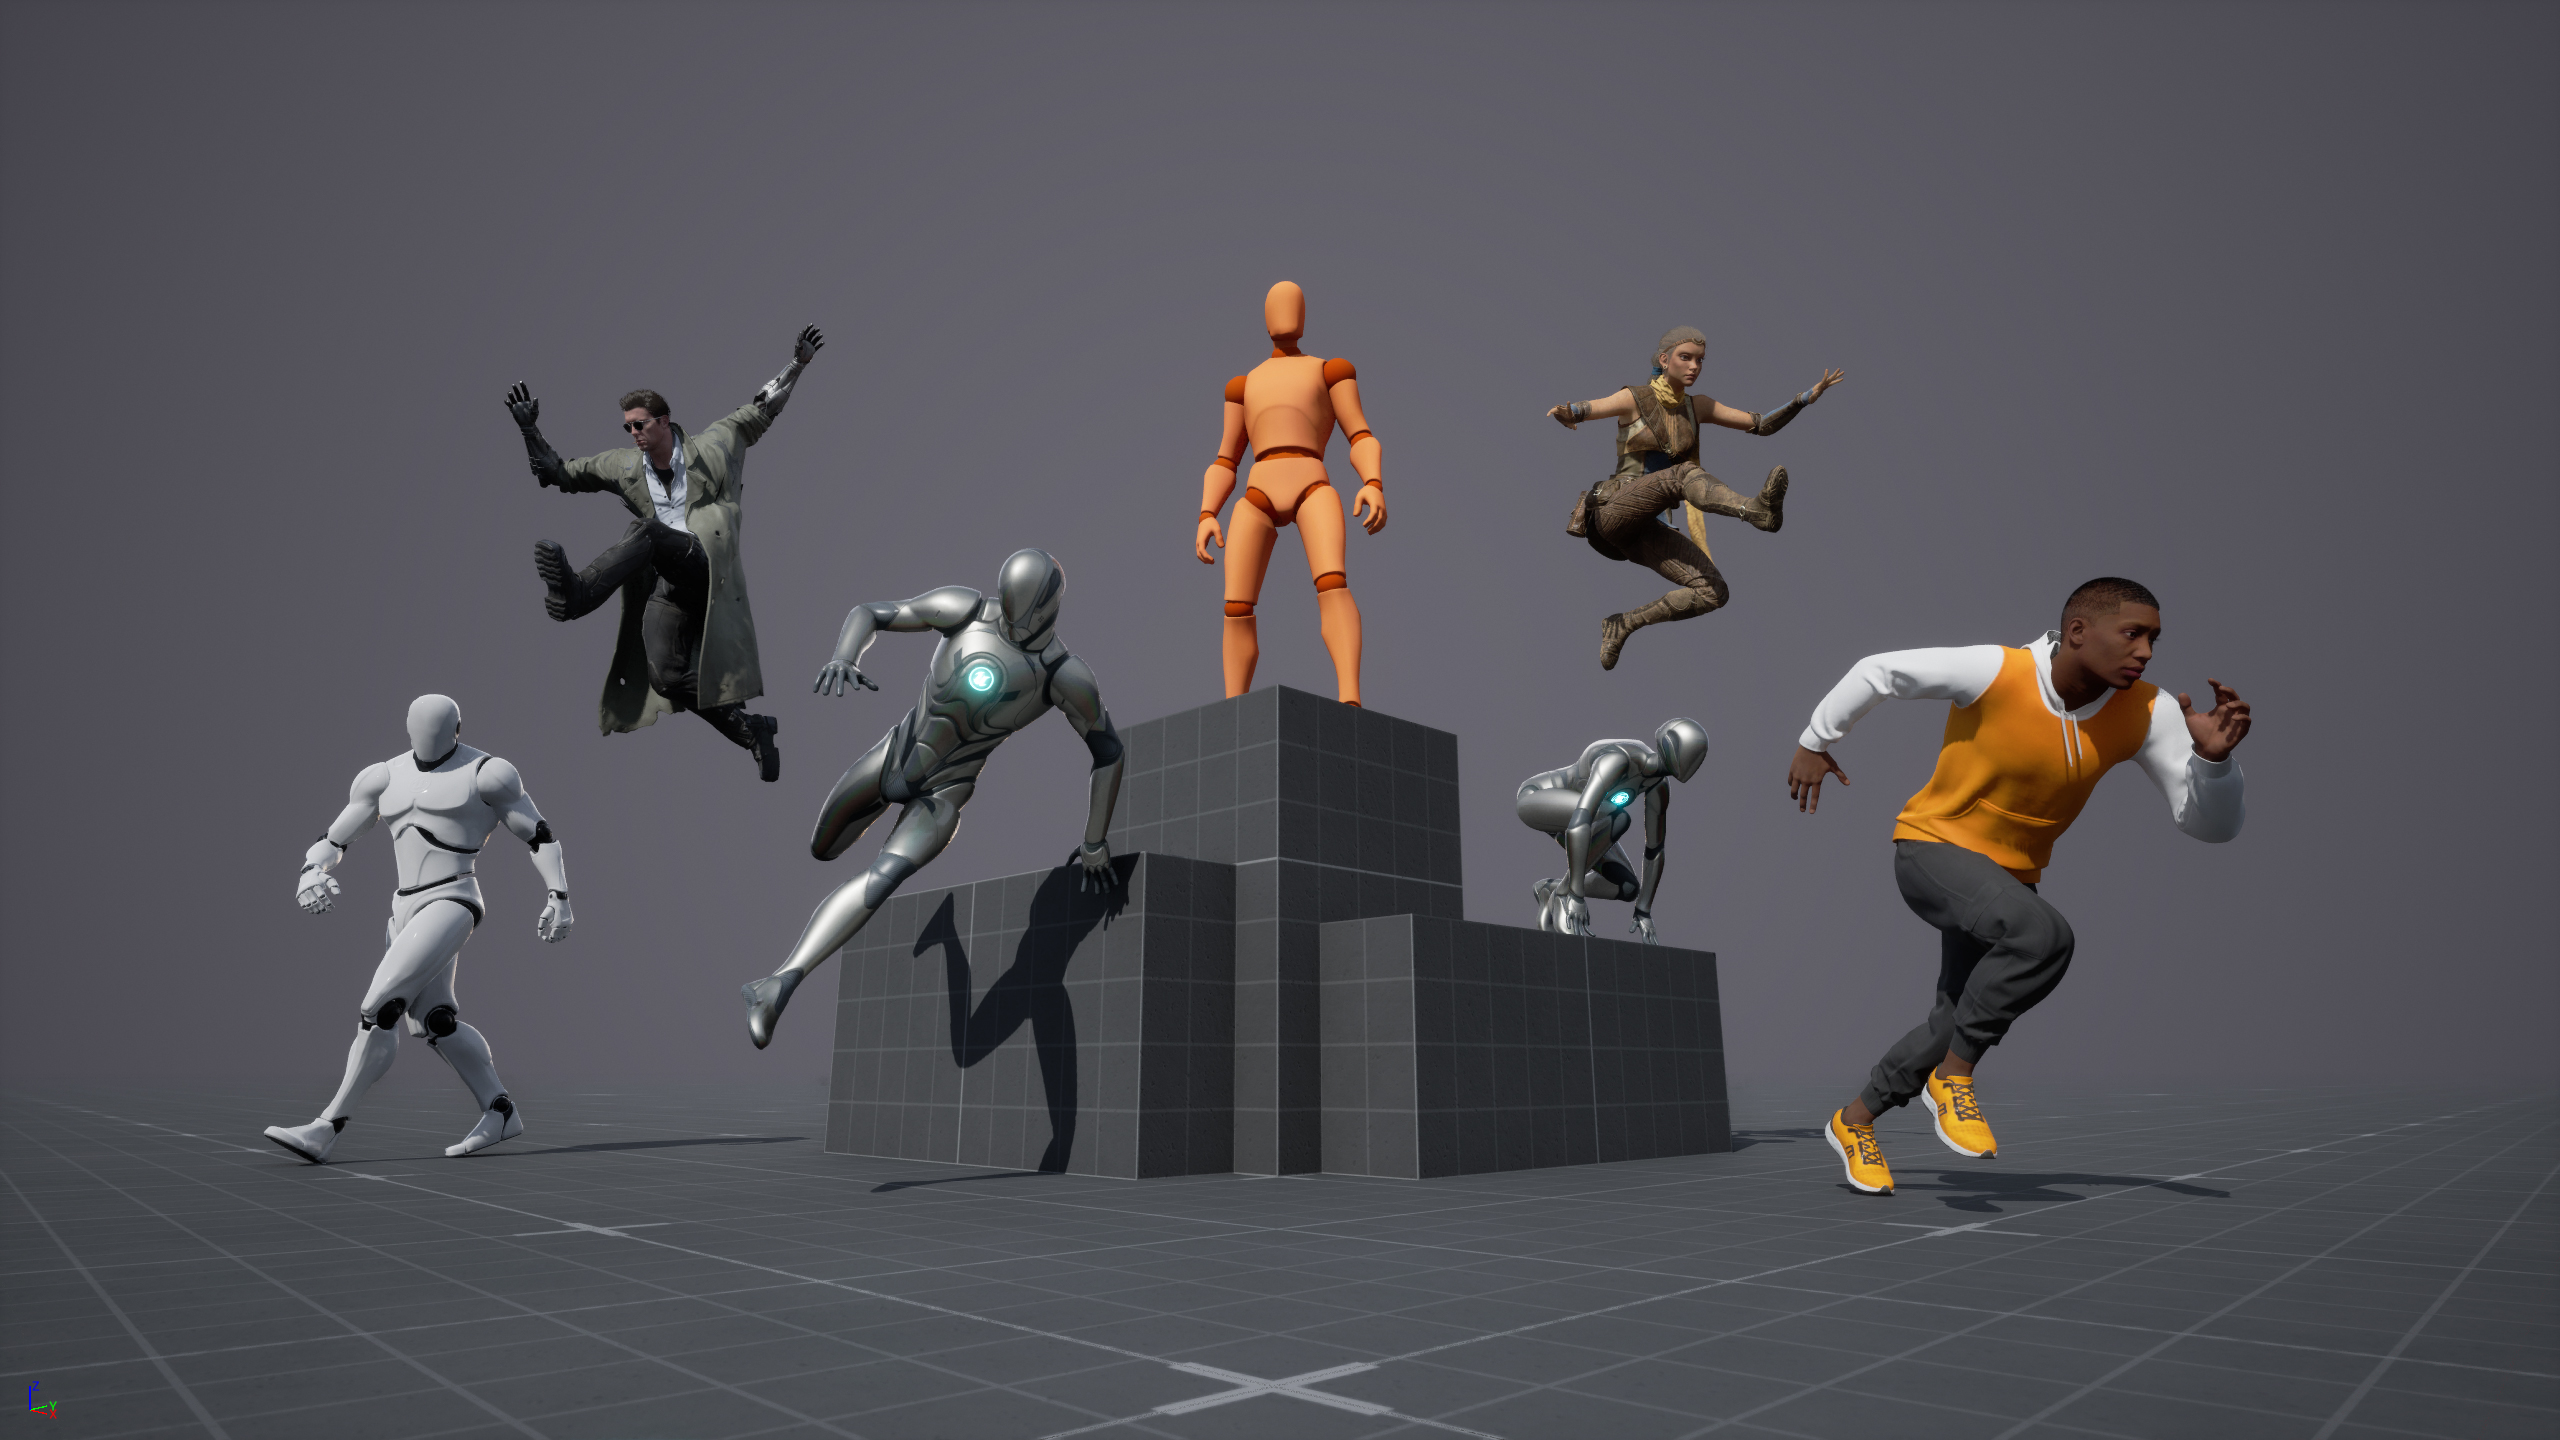
Last week was UI; this week, animation – and it’s a big one: input controls, skeletal meshes, animation graphs, jumping, blend spaces, montages, sockets, notifies, aim offsets, and finally shooting.
This was the first week when everything from the series so far converges into something that actually resembles a game.
Heads up for anyone following the links: this week a new repository was started for the second project, since the course moved on from the first:
sawnoff-studios/character-animation-demo
Here are my notes from this week’s content.
Input Controls
- By default, mouse controls map to the X axis for horizontal look
Adding a Skeletal Mesh
- Create an Animations subfolder for organisation
- Add Animation Sequences to it, and set the target skeletal mesh on import
Animation Blueprint / Graph
- The State Machine handles transitions between animations
- Drag and drop animations into it from the Asset Browser (lower right)
- On the character Blueprint, set the Anim Class (Details panel, right side) to wire up the animation blueprint
Jumping (Additive Animations)
Apply Additive→ plug the additive sequence into the Additive property → control weight via Set Alpha- Create a jump recovery Animation Sequence (trim down the Jump Down animation)
- On the animation itself: set Additive Anim Type to Local Space, Base Pose Type to selected animation frame, Base Pose Animation to the jump recovery sequence
Blend Spaces
- Create a Blend Space (BS), then drag and drop animations onto the grid at the bottom
- In the preview: Ctrl moves the sample point along X so you can preview blend speeds
- Back in the state machine: new state → add the blend space → Get Movement Speed feeds it
- The Animation Preview Editor (lower right) also lets you change movement speed to preview
- Axis settings for direction blends, in degrees:
- 0 – straight ahead
- ±90 - right/left
- 180 – see flag below
- If adjacent axis values are similar, Wrap Input avoids a seam at the boundary
Animation Montages
- Create an Animation Montage (AM)
- The Anim Slot Manager (lower right) is where slots are added; edit a slot by hovering over the timeline at the bottom, then drag animations onto it
- From the cached pose output pin, use Layered blend per bone:
- Blends two poses with the specified bones
- Mesh Space Rotation Blend blends rotations in mesh space rather than local
- Layer Setup → Branch Filters (right side) select which bones are affected
- Higher Blend Depth → more of the combined animation is used
- New input action (
IA_Attack) bound to Left Mouse Button → Pressed - Guarding the attack: only call
PlayAnimMontage()ifGetCurrentMontage() == nullptr
Skeletal Mesh Sockets
Attachment points on a skeletal mesh – used for weapon attachments, clothing, effect placement, held items, sensors, cameras, etc.
- Add a
UStaticMeshComponentproperty for the weapon/held object - Mesh scaled wrong on import? Fix in Import Settings → Import Uniform Scale, then Reimport Base Mesh
- Set the static mesh collision to No Collision
- To create a socket: open the Skeleton, choose an Animation Preview on the right, select the bone (e.g. hand) → right-click → Add Socket, then right-click → add a preview asset
- Override OnConstruction to attach the static meshes to the sockets
Animation Notifies
- For timing things against the animation (e.g. dealing damage at the moment a swing connects):
- Sound goes in a Sounds folder
- On the Animation Montage: right-click the timeline → Add Notify (or a Notify State for a duration)
- On
BP_Enemy: static mesh, animations, animation blueprint; addbIsUnderAttackandHealthvariables - Damage from the attacker: SphereTraceMulti() and ApplyDamage()
- The receiver uses the overlap method rather than a line trace: a
UFUNCTION()raises anOnOverlapBeginevent; viaMeshComp->GetOwner(), call the active attack
Aim Offsets
- Import aiming animations for various directions, convert them to additive en masse:
- Select all → Asset Actions → Edit Selection in Property Matrix
- Additive Settings: Additive Anim Type = Mesh Space, Base Pose Type = Selected animation frame, Base Pose Animation = the aiming idle original
- Save all at once
- Create the Aim Offset (AO_Aim): Horizontal Axis = Yaw (−90 to 90), Vertical Axis = Pitch (−90 to 90), then add animations like a blend space
- New Input Action (
IA_Aim) on right-mouse button BaseCharacter::Aim()/BaseCharacter::IsAttacking();PlayerController::ToggleAim()callsControlledCharacter->Aim()and supplies pitch/yaw- Feed
DeltaTimeintoUpdateAnimationProperties()in the animation blueprint - In the Animation Graph:
- New cached pose from the Layered blend per bone (Full Body)
- Apply Aim Offset on the full body:
- Blend Pose by Boolean,
Is Aimingas the active value AO_Aimas the True pose (Yaw/Pitch variables fed in)- Cached pose (Full Body) as the False pose
- Blend Pose by Boolean,
Shooting
- Override the
Attackfunction in MainCharacter - If the character is aiming: get camera location and rotation, determine the trace’s start and end, and use LineTraceSingleByChannel()
- Note: longer trace distances take longer to evaluate
Notes on things that stood out
This week joined everything up. Line traces (collision week), input actions (Enhanced Input week), materials and timelines (weeks one and six) all resurface inside an animation-driven combat loop.
The big architectural lesson was the notify/socket pairing – the animation decides when damage happens, the skeleton decides where the weapon sits – neither belongs in gameplay code.
Related Posts
2025-07-30
2025-07-23
2025-07-16